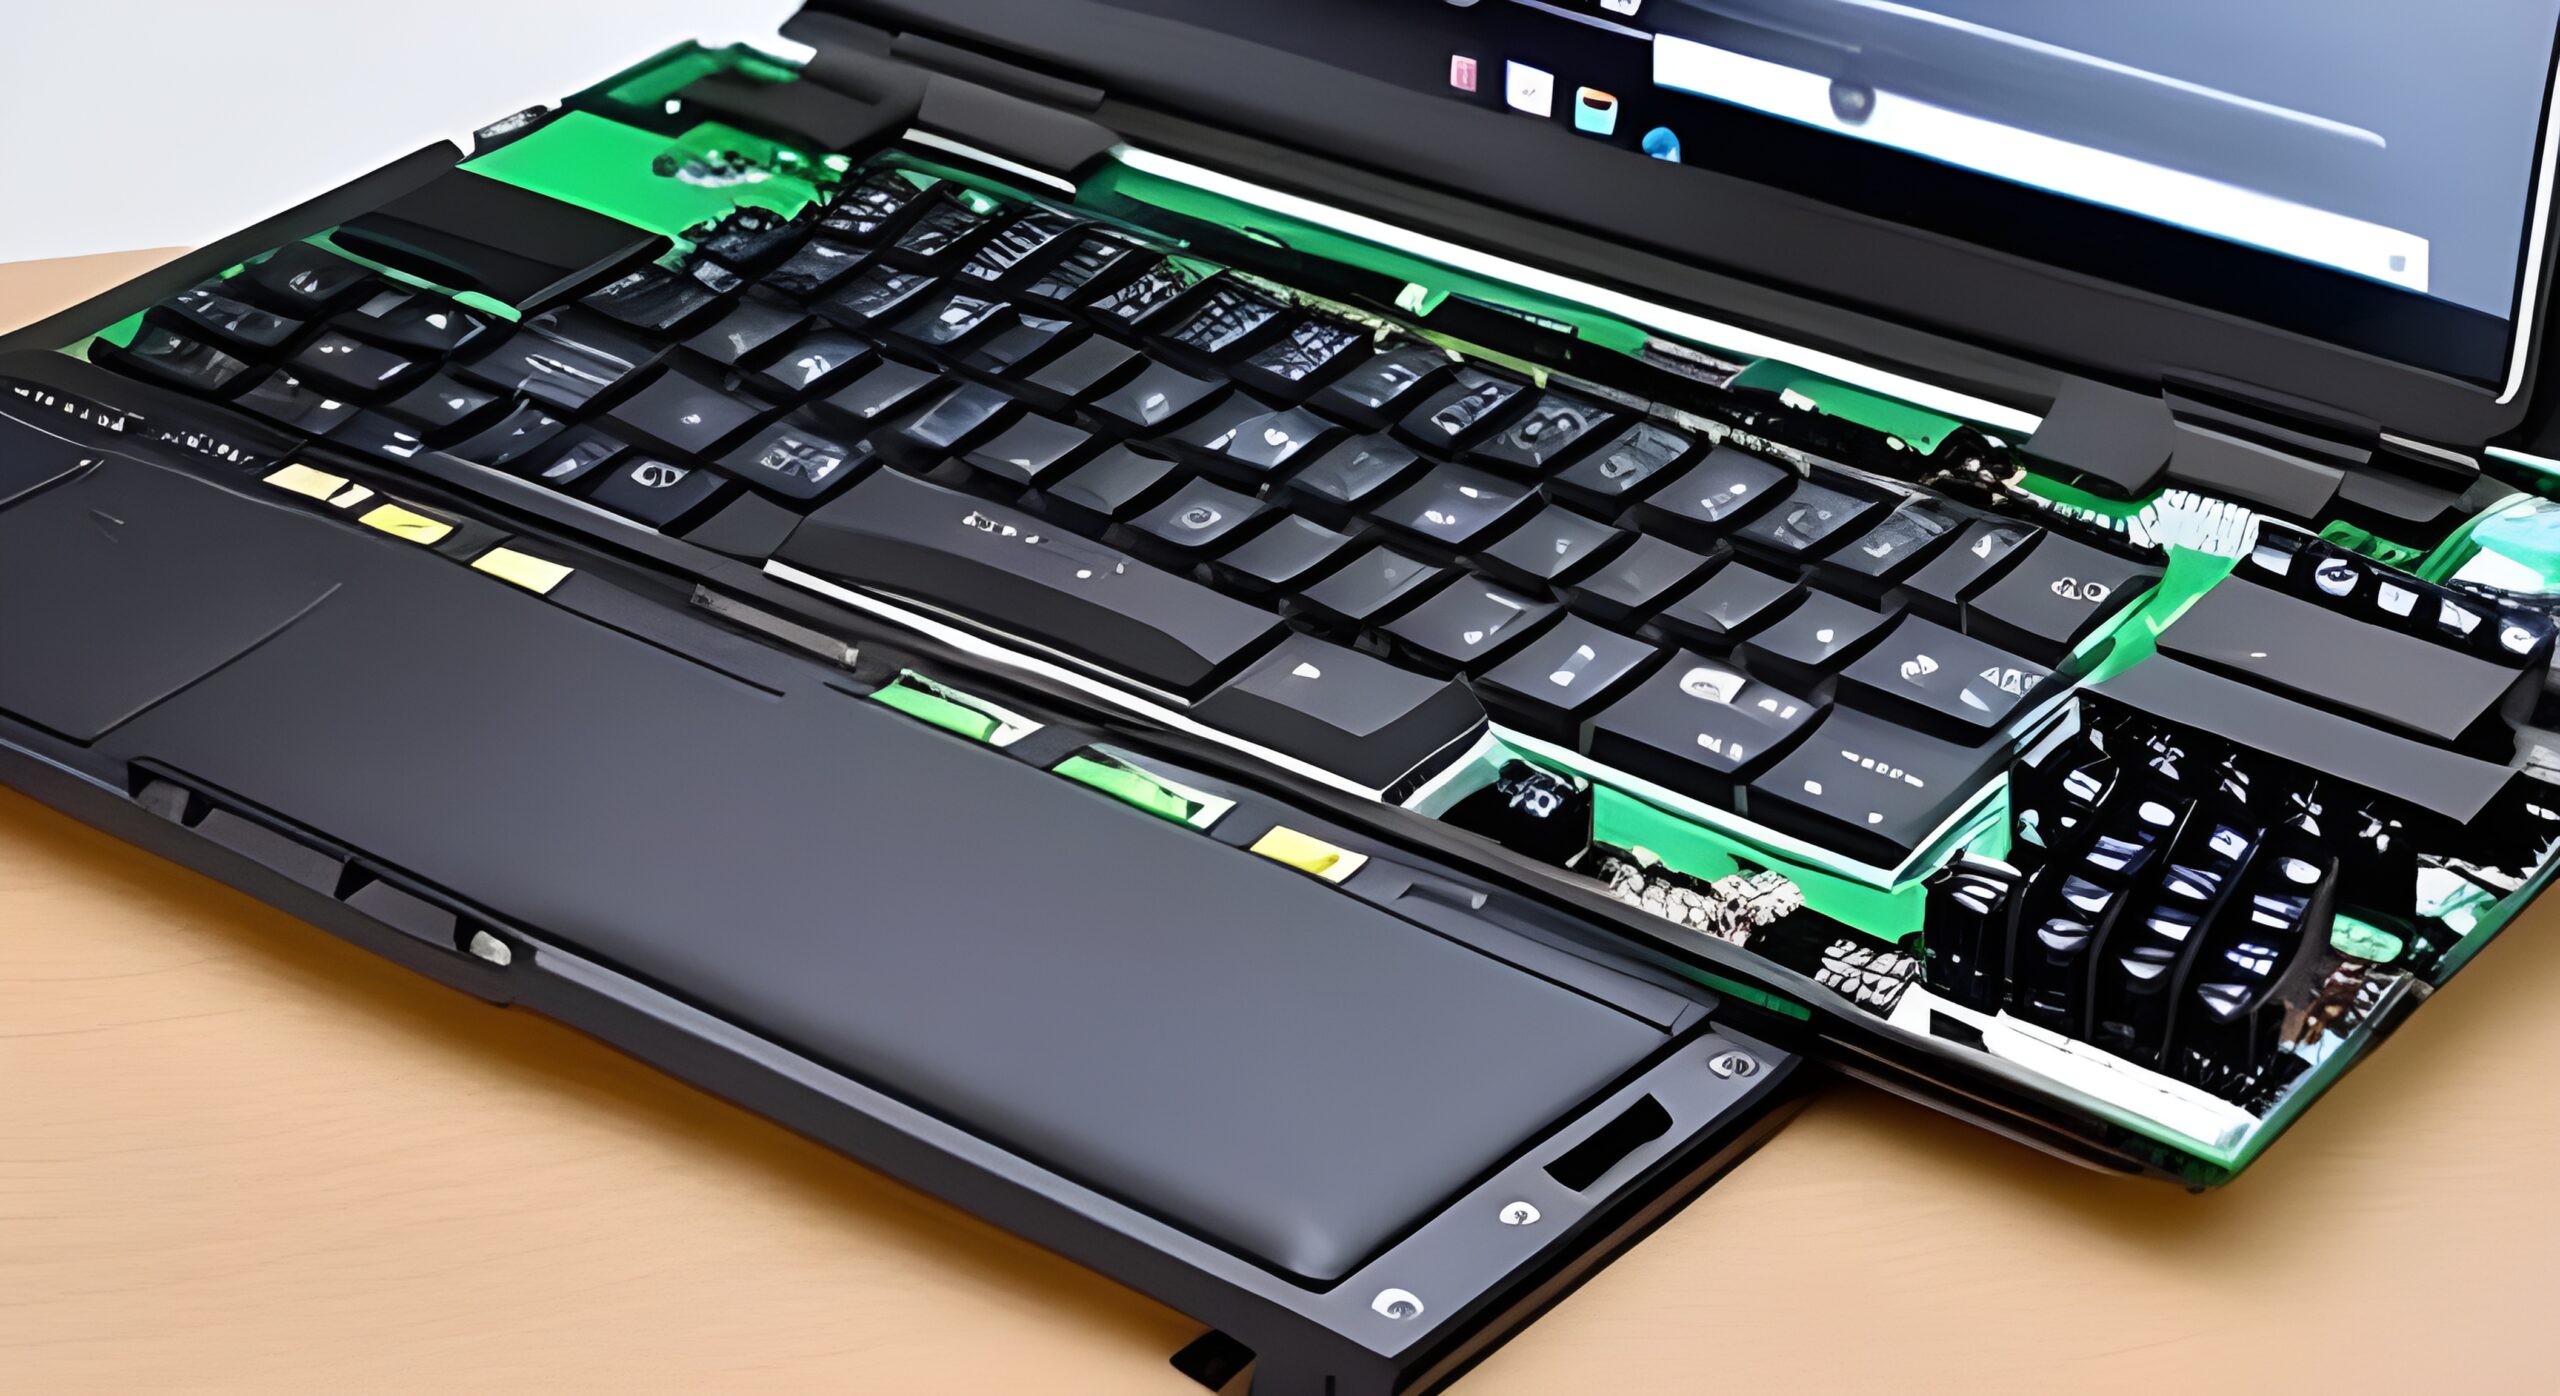
Converting an old laptop to use a Raspberry Pi 4 can be a fun and rewarding project, but it requires some technical knowledge and skill.
Sourcing a Laptop
There are many different models of old laptops that could potentially be converted for use with a Raspberry Pi 4, depending on your specific needs and preferences. However, here are some general guidelines and recommendations to consider:
- Look for a laptop with a screen size and resolution that you like, and that is compatible with an LVDS controller board.
- Consider the overall size and weight of the laptop, as well as its ventilation and cooling capabilities, to ensure that it can accommodate the Raspberry Pi and other components without overheating.
- Look for a laptop with a built-in keyboard and touchpad that you can reuse with a USB and touchpad controller board.
- Consider the battery life and power requirements of the laptop, as well as the availability of a suitable power supply and charging circuit.
- Look for a laptop with a relatively modern processor and enough RAM and storage to run the operating system and any necessary software.
Some examples of old laptops that might be suitable for conversion include:
- Dell Latitude E6400/E6410: These laptops have a 14.1-inch screen, a full-size keyboard, and are relatively easy to disassemble and modify.
- Lenovo ThinkPad T400/T410: These laptops have a 14.1-inch screen, a built-in keyboard and touchpad, and are known for their durability and reliability.
- HP EliteBook 6930p/8440p: These laptops have a 14.1-inch screen, a built-in keyboard and touchpad, and are known for their business-grade features and build quality.
It’s important to note that every laptop model will have its own unique challenges and limitations when it comes to modification and conversion, so it’s important to do your research and carefully consider your specific needs and preferences before selecting a model.
Sourcing a Raspberry Pi
To source a Raspberry Pi, you have several options:
- Official Raspberry Pi Website: The official Raspberry Pi website (www.raspberrypi.org) is a reliable source to purchase Raspberry Pi boards and accessories. They offer different models, including the Raspberry Pi 4, and provide information on authorized resellers and distributors in various regions.
- Authorized Resellers: There are authorized resellers that stock and sell Raspberry Pi boards and accessories. You can check the official Raspberry Pi website for a list of authorized resellers in your region. Examples of authorized resellers include Adafruit, CanaKit, and The Pi Hut.
- Online Retailers: Popular online retailers such as Amazon, Newegg, and Micro Center often carry Raspberry Pi boards. You can search for “Raspberry Pi” on these platforms to find available options and compare prices.
- Local Electronics Stores: Check with your local electronics stores or computer shops to see if they carry Raspberry Pi boards. Some specialized electronics stores may have Raspberry Pi boards in stock, allowing you to purchase them directly.
- Second-hand Marketplaces: You can also explore second-hand marketplaces like eBay, Craigslist, or local classified ads for used Raspberry Pi boards. Be sure to verify the condition and legitimacy of the seller before making a purchase.
Before purchasing, consider the specific model and configuration you need for your project, such as the amount of RAM, storage options, and any additional accessories required.
It’s also recommended to compare prices and check for any deals or bundles that may include useful accessories like power supplies, cases, or SD cards.
Parts and Tools
Here’s a list of parts and tools you might need for converting your old laptop to use a Raspberry Pi 4:
Parts:
- Raspberry Pi 4
- Keyboard controller board
- USB controller board
- LVDS controller board
- LVDS cable
- HDMI to LVDS converter (if necessary)
- Touchpad controller board (if necessary)
- Screen power supply (if necessary)
- Voltage regulator(s)
- Current limiter(s)
- Battery charging circuit (if necessary)
Tools:
- Screwdriver set (for disassembling the laptop)
- Wire stripper/cutter
- Soldering iron and solder
- Multimeter (for testing voltage and continuity)
- Power supply (to power the Raspberry Pi and test the circuits)
- Computer with internet access (for downloading software and drivers)
Depending on the specific laptop and Raspberry Pi models you are using, you may also need additional parts and tools.
It’s a good idea to research the specific requirements of your project and make a list of all the necessary parts and tools before you begin.
Project Cost
The cost of the Pi4 laptop project will depend on several factors, such as the cost of the individual components, the quality of the components you choose, and where you purchase them from.
Here is a rough breakdown of the estimated cost of the components needed for the project:
- Raspberry Pi 4: $35-$75 depending on the model and configuration you choose.
- LVDS controller board: $20-$50 depending on the size and resolution of the screen.
- USB controller board: $5-$10 for a basic model.
- Keyboard controller board: $5-$15 for a basic model.
- Touchpad controller board: $5-$10 for a basic model.
- Screen: $20-$50 depending on the size and resolution.
- Screen power supply: $10-$20 depending on the type and voltage required.
- Laptop battery: $20-$50 depending on the capacity and condition.
- Power supply: $10-$20 for a basic model.
- MicroSD card: $5-$15 depending on the capacity.
- Various cables, connectors, and adapters: $10-$20 depending on the type and quality.
In total, the cost of the project could range from around $150 to $350 or more, depending on the quality and features of the components you choose.
Keep in mind that this is just an estimate and the actual cost may vary depending on your specific needs and preferences.
Project Time
The time it takes to complete the Pi4 laptop project will depend on your level of technical expertise, familiarity with the components, and the complexity of the modifications required. Here are some general estimates for the time required for each major step of the project:
- Component selection and ordering: 1-2 hours. This will involve researching and selecting the appropriate components for your specific needs and budget, as well as ordering them from suppliers.
- Disassembly of the old laptop: 1-2 hours. This will involve carefully taking apart the old laptop and removing any unnecessary components, while preserving the ones you want to reuse.
- Modification of the laptop case: 2-3 hours. This will involve drilling holes and making modifications to the laptop case to fit the new components and ensure proper ventilation.
- Wiring and assembly of the new components: 3-5 hours. This will involve connecting and wiring the new components, such as the Raspberry Pi, screen, keyboard, touchpad, and USB devices, and assembling them inside the modified laptop case.
- Software installation and configuration: 2-3 hours. This will involve installing the operating system and any necessary drivers or software, as well as configuring the system to work with the new components and peripherals.
In total, the project could take anywhere from 9-15 hours or more, depending on your level of experience and the specific challenges you encounter. It is important to allow yourself enough time to complete the project carefully and thoroughly, and to take breaks as needed to avoid frustration or burnout.
Be sure to research and purchase the appropriate components, and follow all safety precautions when working with electronics.
Step by Step
Here’s a step-by-step guide for converting your old laptop to use a Raspberry Pi 4, suitable for a beginner:
- Gather all the necessary parts and tools: Before you begin, make sure you have all the necessary parts and tools listed in the previous answer.
- Disassemble the old laptop: Use a screwdriver set to carefully disassemble the old laptop, taking note of how everything is connected.
- Remove the old motherboard: Remove the old motherboard and any other components that you won’t be using in the new setup.
- Install the Raspberry Pi 4: Install the Raspberry Pi 4 onto the laptop case using screws or adhesive.
- Connect the keyboard controller board: Connect the keyboard controller board to the keyboard ribbon cable and the Raspberry Pi 4 using USB cables. Test the keyboard to make sure it works properly.
- Connect the touchpad controller board (if necessary): Connect the touchpad controller board to the touchpad ribbon cable and the Raspberry Pi 4 using a USB cable. Test the touchpad to make sure it works properly.
- Connect the USB controller board: Connect the USB controller board to the USB ports on the laptop case and the Raspberry Pi 4 using USB cables. Test the USB ports to make sure they work properly.
- Connect the LVDS controller board: Connect the LVDS controller board to the LVDS cable and the Raspberry Pi 4 using HDMI and USB cables. Test the screen to make sure it works properly.
- Connect the screen power supply (if necessary): If the screen requires a separate power supply, connect it to the LVDS controller board and a power source.
- Power the Raspberry Pi 4: Connect a power supply to the Raspberry Pi 4 and turn it on. Make sure it boots up properly and connects to the internet.
- Install an operating system: Install an operating system on the Raspberry Pi 4, such as Raspbian or Ubuntu. You can download the operating system image from the Raspberry Pi website and write it to a microSD card using software like balenaEtcher.
- Install necessary drivers and software: Install any necessary drivers and software for the keyboard, touchpad, and screen, as well as any other peripherals you plan to use.
- Test the setup: Test the entire setup to make sure everything is working properly. Make any necessary adjustments to the software or hardware settings.
- Reassemble the laptop: Once you’re satisfied that everything is working properly, reassemble the laptop case, taking care not to damage any of the new components.
- & Congratulations, you’ve now converted your old laptop to use a Raspberry Pi 4!
Here’s a detailed guide for converting your old laptop to use a Raspberry Pi 4, suitable for a technical expert:
- Gather all the necessary parts and tools: Before you begin, make sure you have all the necessary parts and tools listed in the previous answer.
- Disassemble the old laptop: Use a screwdriver set to carefully disassemble the old laptop, taking note of how everything is connected. Take photos or make a diagram of the original wiring to help with reassembly.
- Remove the old motherboard: Remove the old motherboard and any other components that you won’t be using in the new setup. This will create space for the Raspberry Pi 4 and other components.
- Install the Raspberry Pi 4: Position the Raspberry Pi 4 onto the laptop case, making sure it is centered and level. Attach the Raspberry Pi 4 to the case using screws or adhesive. Make sure the Raspberry Pi 4 is secure and will not move or fall out of place.
- Connect the keyboard controller board: Connect the keyboard controller board to the keyboard ribbon cable and the Raspberry Pi 4 using USB cables. Test the keyboard to make sure it works properly. You may need to solder some wires or connectors to make a proper connection.
- Connect the touchpad controller board (if necessary): Connect the touchpad controller board to the touchpad ribbon cable and the Raspberry Pi 4 using a USB cable. Test the touchpad to make sure it works properly.
- Connect the USB controller board: Connect the USB controller board to the USB ports on the laptop case and the Raspberry Pi 4 using USB cables. Test the USB ports to make sure they work properly.
- Connect the LVDS controller board: Connect the LVDS controller board to the LVDS cable and the Raspberry Pi 4 using HDMI and USB cables. You may also need to use an HDMI to LVDS converter if the screen requires it. Test the screen to make sure it works properly.
- Connect the screen power supply (if necessary): If the screen requires a separate power supply, connect it to the LVDS controller board and a power source. You may need to modify the wiring to properly connect the power supply.
- Power the Raspberry Pi 4: Connect a power supply to the Raspberry Pi 4 and turn it on. Make sure it boots up properly and connects to the internet.
- Install an operating system: Install an operating system on the Raspberry Pi 4, such as Raspbian or Ubuntu. You can download the operating system image from the Raspberry Pi website and write it to a microSD card using software like balenaEtcher.
- Install necessary drivers and software: Install any necessary drivers and software for the keyboard, touchpad, and screen, as well as any other peripherals you plan to use. You may need to modify some software settings to optimize the display resolution or other features.
- Test the setup: Test the entire setup to make sure everything is working properly. Use a multimeter to test the voltage and continuity of the wiring and components. Make any necessary adjustments to the software or hardware settings.
- Reassemble the laptop: Once you’re satisfied that everything is working properly, reassemble the laptop case, taking care not to damage any of the new components. Use cable ties or tape to keep the wires and components organized and secure.
Custom Components
Here are some tips on how to convert the keyboard, trackpad, screen, battery, and power supply in a old laptop for use with the Pi 4:
- Keyboard and Trackpad: The easiest way to use the keyboard and trackpad from your old laptop is to connect them via USB. You can purchase a USB controller board that can interface with the keyboard and trackpad. Another option is to use a Bluetooth adapter, if your keyboard and trackpad support Bluetooth.
- Screen: The screen from your old laptop can be repurposed with the Pi 4, but it may require some customization. You need to purchase a controller board that can interface with the screen, which can be found online. After that, you need to wire the controller board to the Pi 4 using the appropriate cables.
- Battery: If you want to use the battery from your old laptop to power the Raspberry Pi 4, you need to determine the voltage and amperage of the battery. The Raspberry Pi 4 requires a 5V power supply, so you may need to use a voltage regulator to ensure that the battery voltage is safe for the Pi 4. You will also need to wire the battery to the Pi 4 using the appropriate cables.
- Power Supply: The Raspberry Pi 4 requires a 5V power supply with a minimum of 3A, so you need to modify or purchase a new power supply that meets those specifications. You will also need to wire the power supply to the Pi 4 using the appropriate cables.
USB Controller
A USB controller board is a small circuit board that allows you to connect a keyboard or trackpad to your computer via USB. These boards are commonly used in DIY projects like converting an old laptop to use a Pi.
Here are the basic steps to connect a keyboard or trackpad to a USB controller board:
- Purchase a USB controller board that is compatible with your keyboard or trackpad. There are many different types of controller boards available, so be sure to choose one that matches the connector type and signal protocol of your keyboard or trackpad. Some common types of connectors include PS/2, AT, and USB.
- Connect the keyboard or trackpad to the controller board. This typically involves soldering wires from the controller board to the appropriate pins on the keyboard or trackpad connector. Be sure to follow the pinout diagram for your specific keyboard or trackpad.
- Connect the USB controller board to the Pi. This can be done using a standard USB cable. You may also need to configure the Pi to recognize the keyboard or trackpad, depending on the operating system you are using.
- Test the keyboard or trackpad to ensure that it is working correctly. You should be able to type or move the cursor on the screen using the keyboard or trackpad.
There are several different USB controller boards available, and the specific steps for connecting a keyboard or trackpad may vary depending on the board and the device you are working with.
It’s a good idea to read the documentation and guides for your specific components before starting the project.
Here are a few examples of USB controller boards that can be used to connect a keyboard or trackpad to a Raspberry Pi:
- Teensy 2.0: The Teensy 2.0 is a popular microcontroller board that can be programmed to act as a USB keyboard or mouse. It has a small form factor and can be used to interface with a wide range of keyboards and trackpads. The Teensy 2.0 is compatible with the Arduino development environment, making it easy to program even for beginners.
- Arduino Micro: The Arduino Micro is another microcontroller board that can be used to emulate a USB keyboard or mouse. It has a similar form factor to the Teensy 2.0 and can be programmed using the Arduino development environment. The Arduino Micro is compatible with a wide range of keyboards and trackpads, making it a versatile option for DIY projects.
- Adafruit Trinket M0: The Adafruit Trinket M0 is a small microcontroller board that can be used to emulate a USB keyboard or mouse. It has a built-in USB port and can be programmed using the Arduino development environment. The Trinket M0 is compatible with a range of keyboards and trackpads and has a small form factor, making it ideal for projects where space is limited.
- V-USB: V-USB is a software-only solution that allows you to emulate a USB keyboard or mouse using an AVR microcontroller. It is a popular option for DIY projects because it can be used with a wide range of microcontrollers, including the Arduino and Raspberry Pi. V-USB requires some programming knowledge to use, but there are many guides and tutorials available online to help you get started. There are many other options available, so be sure to choose a board that is compatible with your specific keyboard or trackpad and meets your project requirements.
Display Screen
There are a few different types of controller boards that can be used to interface with a screen, depending on the type of screen you are using. Here are some examples:
- HDMI controller board: If your screen has an HDMI input, you can use an HDMI controller board to connect it to the Pi. HDMI controller boards are available in various sizes and resolutions, and typically come with a set of connectors for the screen’s backlight and touch controller, if applicable. HDMI controller boards are easy to use and offer good quality output.
- VGA controller board: If your screen has a VGA input, you can use a VGA controller board to connect it to the Raspberry Pi. VGA controller boards typically come with a set of connectors for the screen’s backlight and touch controller, if applicable. VGA controller boards can provide good quality output, but may require additional configuration to get the optimal display settings.
- LVDS controller board: If your screen has an LVDS (Low Voltage Differential Signaling) interface, you can use an LVDS controller board to connect it to the Raspberry Pi. LVDS controller boards typically come with a set of connectors for the screen’s backlight and touch controller, if applicable. LVDS controller boards can provide good quality output and are commonly used for laptop screens.
- DSI controller board: If your screen has a DSI (Display Serial Interface) interface, you can use a DSI controller board to connect it to the Pi. DSI controller boards are typically available for specific screen models and require specific firmware and drivers for compatibility. DSI controller boards can provide good quality output, but may require additional configuration to get the optimal display settings.
When choosing a controller board, be sure to select one that is compatible with your screen’s interface and resolution, and comes with the appropriate connectors for the backlight and touch controller, if applicable.
You may also need to configure the Raspberry Pi to recognize the screen and set the optimal display settings, depending on the operating system you are using.
Here are a few examples of LVDS controller boards that can be used to interface with laptop screens:
- M.NT68676.2A Controller Board: This is a popular LVDS controller board that can be used with a variety of laptop screens. It supports screen resolutions up to 1920×1080 pixels and comes with a range of connectors for the screen’s backlight and touch controller, if applicable. The M.NT68676.2A board can be powered by a 12V DC adapter and has a VGA and HDMI output for connecting to the Raspberry Pi.
- T.VST59.A5 Controller Board: This is another popular LVDS controller board that can be used with laptop screens. It supports screen resolutions up to 1920×1080 pixels and comes with connectors for the screen’s backlight and touch controller, if applicable. The T.VST59.A5 board can be powered by a 12V DC adapter and has a VGA and HDMI output for connecting to the Raspberry Pi.
- LCD Controller Board Kit: This is a kit that includes an LVDS controller board, an inverter board, and other components needed to interface with a laptop screen. The kit is available in a range of resolutions and screen sizes, and comes with a variety of connectors for the screen’s backlight and touch controller, if applicable. The LCD controller board kit can be powered by a 12V DC adapter and has a VGA and HDMI output for connecting to the Raspberry Pi.
When selecting an LVDS controller board, be sure to choose one that is compatible with your specific laptop screen.
You will also need to ensure that the controller board has the appropriate connectors for the backlight and touch controller, if applicable.
Finally, be sure to follow the manufacturer’s instructions for wiring and configuring the controller board for optimal performance.
Battery & Power
Using a laptop battery to power a Raspberry Pi 4, screen, and disk within an old laptop case can be a bit tricky, but it is definitely possible. Here are some steps you can follow:
- Check the voltage and capacity of the laptop battery: You will need to make sure that the voltage and capacity of the laptop battery are compatible with the Raspberry Pi 4, screen, and disk that you want to power. The Raspberry Pi 4 requires a 5V DC power supply, while the screen and disk may have different power requirements. You may need to use voltage regulators to adjust the voltage to the appropriate levels.
- Disassemble the old laptop and locate the battery: You will need to remove the battery from the old laptop and locate the positive and negative terminals.
- Connect the battery to a voltage regulator: You will need to connect the battery to a voltage regulator to adjust the voltage to the appropriate level for the Raspberry Pi 4, screen, and disk. You can use a buck converter to step down the voltage or a boost converter to step up the voltage, depending on your specific requirements.
- Connect the voltage regulator to the Raspberry Pi 4: Once you have adjusted the voltage to the appropriate level, you can connect the voltage regulator to the Raspberry Pi 4 using the micro-USB power port. Be sure to check the voltage and polarity of the connection to avoid damaging the Raspberry Pi 4.
- Connect the screen and disk to the voltage regulator: You will need to connect the screen and disk to the voltage regulator using appropriate connectors. If the screen and disk have different power requirements, you may need to use multiple voltage regulators to adjust the voltage to the appropriate levels.
- Test the setup: Once you have connected everything, you can test the setup to make sure that everything is working properly. You may need to adjust the voltage and current settings of the voltage regulators to get the optimal performance.
It’s important to note that using a laptop battery to power a Raspberry Pi 4 and other components can be risky if you don’t have experience with electronics.
Be sure to follow proper safety procedures and consult with an experienced technician if you are unsure about any aspect of the setup.
To use the laptop power supply to power the Raspberry Pi and other laptop parts, including charging the battery, you will need to create a custom power supply circuit. Here are the steps you can follow:
- Check the voltage and current rating of the laptop power supply: You will need to make sure that the voltage and current rating of the laptop power supply are compatible with the Pi and other laptop parts that you want to power. The Raspberry Pi 4 requires a 5V DC power supply, while the other laptop parts may have different power requirements. You may need to use voltage regulators and current limiters to adjust the voltage and current to the appropriate levels.
- Disassemble the old laptop and locate the power supply connector: You will need to remove the power supply connector from the old laptop and locate the positive and negative terminals.
- Connect the power supply connector to the custom power supply circuit: You will need to connect the power supply connector to a custom power supply circuit that includes voltage regulators, current limiters, and charging circuits. The exact circuit will depend on the specific requirements of the Pi and other laptop parts that you want to power. You may need to consult with an experienced technician or engineer to design the circuit.
- Connect the custom power supply circuit to the Pi and other laptop parts: Once you have designed the custom power supply circuit, you can connect it to the Raspberry Pi and other laptop parts using appropriate connectors. Be sure to check the voltage and polarity of the connections to avoid damaging any components.
- Test the setup: Once you have connected everything, you can test the setup to make sure that everything is working properly. You may need to adjust the voltage and current settings of the custom power supply circuit to get the optimal performance.
It’s important to note that creating a custom power supply circuit can be a complex and risky task if you don’t have experience with electronics.
Be sure to follow proper safety procedures and consult with an experienced technician or engineer if you are unsure about any aspect of the setup.
Help
There are many online resources that can help you with your Pi4 laptop build. Here are a few useful websites and communities:
- The official Raspberry Pi website (https://www.raspberrypi.org/) is a great place to start for general information about the Raspberry Pi, as well as tutorials and guides for various projects and applications.
- The Raspberry Pi forums (https://www.raspberrypi.org/forums/) are a helpful community of users and developers who can provide advice and support for your specific project.
- The Pi4-Netbook project (https://www.pi4-netbook.com/) is a comprehensive resource for building a Pi4-powered laptop, including detailed instructions, parts lists, and FAQs.
- The Pi-Top (https://pi-top.com/) is a modular laptop kit that uses the Raspberry Pi as its core component. While it may not be a perfect fit for your specific project, the Pi-Top website and forums are a great source of information and inspiration.
- Hackaday (https://hackaday.com/) is a website dedicated to hardware hacking and DIY projects, and often features articles and tutorials related to Raspberry Pi and laptop projects.
- Instructables (https://www.instructables.com/) is a community-driven website with thousands of user-submitted tutorials and guides, including many related to Raspberry Pi and laptop projects.
By leveraging the knowledge and resources available from these websites and communities, you should be well-equipped to tackle your Pi4 laptop build with confidence and success.
Making a Cyberdeck
A cyberdeck is typically defined as a portable computer system that is designed to be rugged, self-contained, and highly customizable. Cyberdecks often feature unique, customized enclosures made from materials like metal, plastic, or wood, and may include additional hardware features like built-in displays, external antennas, or custom control panels. Cyberdecks are often designed to be self-contained and portable, with battery backups or other power management features, and may run specialized software, such as retro gaming emulators, security tools, or custom operating systems. Cyberdecks are often associated with the cyberpunk aesthetic and culture, and have gained popularity among enthusiasts in recent years as a platform for experimentation and creativity.
To convert your Pi4 laptop project into a cyberdeck, you could consider the following modifications:
- Add custom enclosures and bodywork: Cyberdecks often feature unique, customized enclosures made from materials like metal, plastic, or wood. You could modify your laptop case or build a new one from scratch to give it a more rugged or futuristic look.
- Include additional hardware features: Cyberdecks often include additional hardware features like built-in displays, external antennas, or custom control panels. You could add these types of features to your Pi4 laptop by using compatible hardware components and building them into your custom enclosure.
- Add software modifications: Cyberdecks often run specialized software, such as retro gaming emulators, security tools, or custom operating systems. You could modify your Pi4 laptop’s software to include these types of features or to optimize it for specific tasks or applications.
- Include a battery backup: Cyberdecks are often designed to be self-contained and portable, so they often include battery backups or other power management features. You could add a battery backup or a solar power system to your Pi4 laptop to make it more portable and resilient.
- Incorporate external peripherals: Cyberdecks often include custom or specialized external peripherals, such as input devices, sensors, or radios. You could add these types of peripherals to your Pi4 laptop by using compatible hardware and integrating them into your custom enclosure.
By incorporating these types of modifications and customizations, you can create a cyberdeck that is uniquely tailored to your needs and preferences.
Here are some online resources that can help you get started with making a cyberdeck:
- Reddit: There are several subreddits dedicated to cyberdeck building and related topics, including r/cyberDeck, r/cyberpunk, and r/raspberry_pi.
- Hackaday: Hackaday is a popular online community for hardware hackers and DIY electronics enthusiasts. They have a dedicated section for cyberdeck projects and tutorials, as well as a wealth of other resources for DIY electronics projects.
- Instructables: Instructables is a platform for DIY projects and tutorials, with a large community of users sharing step-by-step guides for a wide range of projects, including cyberdecks.
- YouTube: There are several YouTube channels dedicated to cyberdeck building and related topics, including “The Mad Modder” and “CyberDeck Cafe”. You can also find tutorials and reviews of hardware components and software tools relevant to cyberdeck building.
- GitHub: GitHub is a platform for collaborative software development, but it’s also a great resource for finding and sharing hardware designs and software tools relevant to cyberdeck building. You can find open-source designs for hardware components like LVDS controller boards or battery management systems, or software tools like custom operating systems or retro gaming emulators.
These resources can help you get started with building your own cyberdeck, and connect you with a community of like-minded DIY electronics enthusiasts.
3D Printing
The custom printed components you might need for your project will depend on the specific requirements of your project.
However, here are some common custom printed components you might need to consider:
- Enclosures: Depending on the size and shape of your project, you may need a custom 3D printed enclosure to protect the internal components and provide a clean and professional appearance.
- Mounting Brackets: If you are mounting your project to a surface, you may need custom 3D printed mounting brackets to securely fasten your project in place.
- Adapters and Connectors: If you are using non-standard connectors or adapters, you may need custom 3D printed adapters and connectors to connect your components together.
- Knobs and Buttons: If you need to control your project manually, you may need custom 3D printed knobs and buttons to interface with your project.
- Heat Sinks: If your project generates a lot of heat, you may need custom 3D printed heat sinks to dissipate the heat and keep your project cool.
The exact custom printed components you need will depend on the specific requirements of your project. It is important to thoroughly plan out your project and identify the specific components and circuits you need before starting the design process. Once you have a clear idea of what you need, you can design and 3D print the custom components to fit your project.
To define and print your own components, you’ll need to use a 3D modeling software to create a digital model of your component, and then use a 3D printer to print the physical object based on that model. Here are the basic steps to follow:
- Choose a 3D modeling software: There are several options for 3D modeling software, ranging from free open-source options like Blender and FreeCAD, to professional-grade tools like SolidWorks and Autodesk Fusion 360. Choose a software that suits your level of experience and the complexity of the component you want to create.
- Create a digital model: Use your 3D modeling software to create a digital model of your component. This will involve defining the shape, dimensions, and features of the component using 3D modeling tools like extrusion, Boolean operations, and filleting. You can also import pre-made models from online libraries or modify existing models to suit your needs.
- Export your model: Once you’ve created your 3D model, export it in a format that’s compatible with your 3D printer. Common formats include STL, OBJ, and AMF.
- Choose a 3D printer: There are many different types of 3D printers available, including FDM (fused deposition modeling), SLA (stereolithography), and SLS (selective laser sintering) printers. Choose a printer that suits your budget and the requirements of your project.
- Print your component: Load your exported model file into your 3D printer’s software, and configure the settings for your print. This will include selecting the material to use, the layer height and print speed, and any other specific requirements for your printer. Then, start the print and wait for your component to be printed.
Once you’ve printed your component, you may need to do some post-processing to clean up any rough edges or remove support structures that were used during the printing process.
But with these basic steps, you can define and print your own components using 3D printing technology.
There are several online services that offer 3D printing for those who don’t have access to their own 3D printer or prefer not to invest in one. Here are a few popular options:
- Shapeways: Shapeways is an online 3D printing service that offers a wide range of materials, including plastics, metals, and ceramics. Users can upload their 3D models and choose the material, finish, and size they want, and Shapeways will print and ship the finished product.
- Sculpteo: Sculpteo offers both online 3D printing and laser cutting services. They offer a range of materials and finishes, including metals, plastics, and wood, and allow users to upload their 3D models for printing.
- 3D Hubs: 3D Hubs is a network of local 3D printing services, where users can find nearby 3D printers to print their models. Users can upload their 3D files and choose a local printer from the 3D Hubs network to print and ship their parts.
- i.materialise: i.materialise offers a range of 3D printing services, including printing in metals, plastics, and ceramics. They also offer a variety of finishing options, such as polishing and dyeing, to customize the look of your printed parts.
These services may vary in pricing and available materials, so it’s worth comparing a few options to find the best fit for your needs.
Circuits
The custom circuits you might need for your project will depend on the specific requirements of your project. However, here are some common custom circuits you might need to consider:
- Power Supply Circuit: You may need a custom power supply circuit to ensure that your project receives a stable and reliable power supply. This could include voltage regulation, power filtering, and protection against overvoltage, undervoltage, and overcurrent.
- Input/Output Circuit: Depending on your project, you may need custom input/output circuits to interface with sensors, motors, displays, or other components. These circuits could include amplifiers, level shifters, and signal conditioners.
- Communication Circuit: If your project requires communication between multiple devices, you may need a custom communication circuit. This could include UART, I2C, SPI, or other communication protocols.
- Sensor Interface Circuit: If your project requires sensors, you may need a custom sensor interface circuit to condition and amplify sensor signals for use by your project.
- Motor Control Circuit: If your project requires motor control, you may need a custom motor control circuit to drive and control the speed and direction of the motor.
The exact custom circuits you need will depend on the specific requirements of your project. It is important to thoroughly plan out your project and identify the specific components and circuits you need before starting the design process.
If you need to define and make simple circuits for your project, there are a few options available to you:
- Breadboarding: Breadboarding is a popular method of prototyping electronic circuits. It involves using a breadboard, which is a plastic board with a grid of holes, to plug in components and wires to create a circuit. Breadboards are reusable and allow for quick testing and modification of circuits.
- Circuit Design Software: There are several circuit design software options available, such as Eagle, KiCAD, and Fritzing. These programs allow you to design and simulate circuits on your computer before building them in real life. Some programs even offer the ability to order custom circuit boards directly from the software.
- Prototyping with Solderless PCBs: Solderless printed circuit boards (PCBs) are a popular alternative to breadboarding. They offer a more permanent solution for prototyping circuits and can be easily modified if needed. Solderless PCBs come in a variety of sizes and can be found online or at electronic supply stores.
- DIY Circuit Boards: If you’re comfortable with a bit of soldering, you can make your own circuit boards using a process called “toner transfer.” This involves printing your circuit design onto special transfer paper, then using heat to transfer the design onto a copper-clad board. Once the design is transferred, you can etch away the excess copper to create your custom circuit board.
There are many resources available online that can help you learn more about each of these options and how to get started with them.
There are also several services that offer circuit board design and manufacturing services. Some popular options include:
- OSH Park: OSH Park is a popular service for ordering custom PCBs. They specialize in small runs of high-quality circuit boards and offer free design software that integrates with popular circuit design programs.
- PCBWay: PCBWay offers a variety of PCB services, including design, fabrication, and assembly. They have a user-friendly online quote system that allows you to get an instant price estimate for your project.
- JLCPCB: JLCPCB is a China-based PCB manufacturing service that offers affordable prices and fast turnaround times. They also offer a variety of other services, such as SMT assembly and stencil fabrication.
- Seeed Studio: Seeed Studio offers a range of PCB design and manufacturing services, as well as other hardware services such as prototyping and manufacturing.
There are many other PCB design and manufacturing services available, each with their own strengths and specialties. When choosing a service, be sure to consider factors such as cost, turnaround time, quality, and customer support.
Alternatives to the Raspberry pi 4
While the Raspberry Pi 4 is a popular single-board computer, there are many other alternatives available on the market.
Here are some examples of SBC alternatives to the Raspberry Pi 4:
- Odroid-XU4: The Odroid-XU4 is a powerful SBC that features a Samsung Exynos 5422 octa-core processor and 2GB of RAM. It is compatible with various operating systems, including Ubuntu, Android, and Debian.
- ASUS Tinker Board: The ASUS Tinker Board is another popular SBC that features a quad-core Rockchip RK3288 processor and 2GB of RAM. It is compatible with a variety of operating systems, including Debian and Android.
- BeagleBone Black: The BeagleBone Black is a popular SBC that features a 1GHz TI Sitara AM3358 processor and 512MB of RAM. It is compatible with various operating systems, including Debian, Android, and Ubuntu.
- NanoPi NEO4: The NanoPi NEO4 is a powerful SBC that features a Rockchip RK3399 processor and 1GB of RAM. It is compatible with various operating systems, including Ubuntu and Debian.
- NVIDIA Jetson Nano: The NVIDIA Jetson Nano is a powerful SBC that features a quad-core ARM Cortex-A57 processor and 4GB of RAM. It is designed for AI and machine learning applications and is compatible with various operating systems, including Ubuntu and Debian.
When choosing an SBC for your project, it’s important to consider your specific requirements and choose an SBC that best meets your needs.